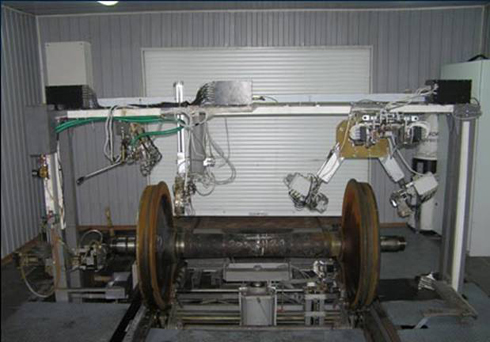
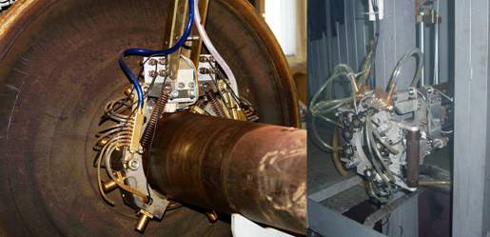
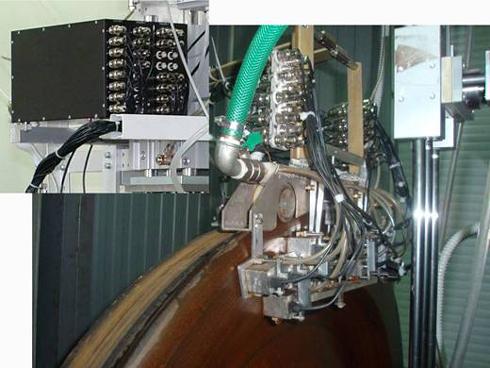
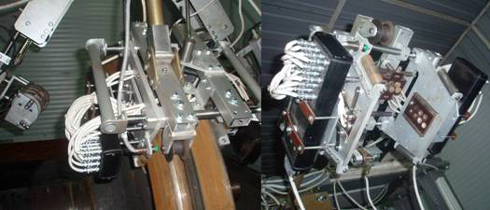
SNK KP-8.3 automated system for complex non-destructive testing of railcars wheel pairs is intended for automated non-destructive testing of freight cars wheel pairs by ultrasonic and current techniques for the purpose of defects detection such as metal inhomogeneity, cracks of various directions, surface defects, in compliance with RD 07.09-97 and TSV-0052.
It is a stationary system.
The system carries out automated complex non-destructive testing of railcar wheel pairs elements of RU1-957 and RU1SH-957 types. Rolling circle diameter – no more than 964 mm for new wheels and no less than 850 mm for wheels with max. wear.
Main specifications of the system:
- number of ultrasonic and EMA channels:
- for the solid-rolled wheel testing – 25;
- for the wheel pair axle testing – 13.
- number of eddy current channels:
- for the wheel rim side surfaces testing – 16;
- for the roll surface testing – 8;
- for the testing of the hollow chamfer from the disk to the rim – 20;
- for the wheel pair axle testing – 8.
- USW rated frequencies value – 0.4 MHz, 2.5 MHz and 5 MHz. Relative USW frequency deviation from rated values are within the limits of 10 %;
- value of the rated probe refracted angles – from 0 to 90 angular degrees;
- initial pulses frequency is set by an encoder;
- testing areas ranges: wheel pair wheel (WP) – from 0 to 130 mm for angle beam probes, from 5 to 125 mm for straight beam probes; WP axle – from 100 to 1900 mm for straight beam single crystal probes, from 200 to 1020 mm for angle beam probes;
- system sensitivity threshold during eddy current testing for artificial defects such as "sawcut" in the enterprise standard sample SOP-2353.08: depth – 0,5 mm; width – 0,1-0,3 mm;
- system sensitivity threshold during ultrasonic testing for artificial defects such as "sawcut" and "drilling" according to the normative documentation RD 07.09.97 and RD 32.144-2000;
- WP rotation frequency is adjusted in the range from 2,0 to 5,0 turns/min.;
- system performs the following service functions:
- recording and storing of testing results;
- printing and storing of testing results (testing report) on electronic data carrier;
- system assures testing efficiency of no less than 10 wheel pairs per hour as soon as they are continuously loaded to the testing site and are flaw-free.

