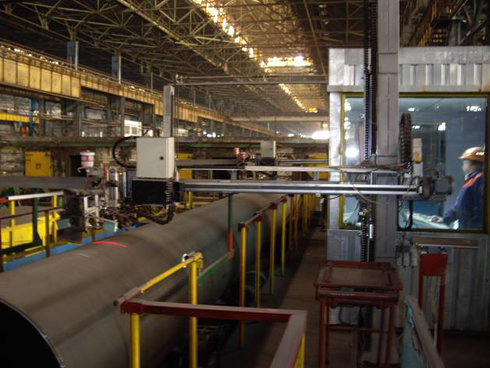
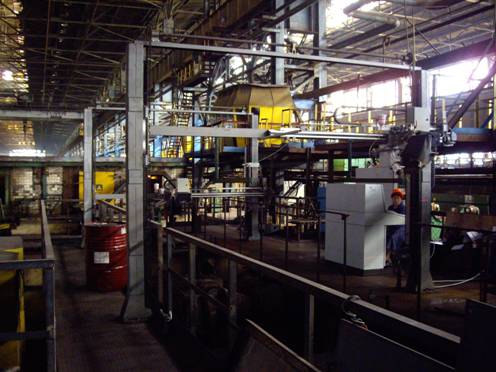
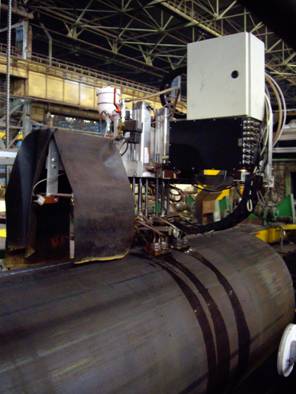
SAUZK "UNISCAN-LuCH PSH-10" – an automated ultrasonic testing system of longitudinal welds of single- and double-joint pipes with the diameter from 406 to 1422 mm and wall thickness from 6,3 to 48 mm which is built on the basis of "Uniscan-LuCH" multi-channel ultrasonic flaw detector – carries out ultrasonic testing of longitudinal pipe welds for inner defects such as slag inclusions, pores, transverse and longitudinal cracks along the whole joint length. The system measures the depth and longitudinal coordinates of the detected defects and estimates conditional length of the detected defects in the pipe weld joint.
The system may be produced in two variants – one- and two-module. Two-module version of the system makes it possible to test the pipe halving the testing time by moving the pipe for half its length during testing and, correspondingly, by every module testing of the half of pipe welded joint with overlapping scanning areas.
Main specifications:
- ultrasonic longitudinal welds testing of pipes with the diameter from 406 to 1422 mm and wall thickness from 6,3 to 48 mm;
- detectable defects types: according to API SPEC 5L;
- ultrasonic channels quantity – 8 (in one module);
- individual tracking of every probe acoustic coupling;
- separate marking of the defective area coordinate as well as of the pipe testing fact;
- automatic flaw alarm system (ALARM);
- flaw-free pipe inspection time without taking into account the time of loading-unloading on the testing site - no more than 2,5 minutes;
- data transmission via Ethernet channel;
- 100% documentation of testing results.
Automated ultrasonic testing system of longitudinal welds of pipes with the diameter from 406 to 1422 mm and wall thickness from 6,3 to 40,7 mm on the basis of "Uniscan-LuCH" - SAUZK «Uniscan-LuCH PSH-10» multi-channel ultrasonic flaw detector. Three similar automated systems will be incorporated in "Khartsyzsk tube-rolling mill" manufacturing lines in the first quarter of 2008. The system carries out ultrasonic testing of longitudinal welds of pipes with the diameter from 406 to 1422 mm and wall thickness from 6,3 to 40,7 mm for inner defects such as slag inclusions, pores, transverse and longitudinal cracks along the whole joint length, except for the "dead areas" on the pipe ends no more than 180 mm. The system measures the depth and longitudinal coordinates of the detected defects and estimates conditional length of the detected defects in the pipe weld joint at the level 0,5 from the max. echo-signal amplitude.
The system assures performing of the following functions:
- recording, storage of the results and on-line display (in the form of defectogram) of information about testing process (the testing report type is agreed with the Customer at the stage of design engineering);
- printing and storing of testing results (testing report) on electronic data carrier;
- light and sound signaling for defects presence;
- paint marking of the pipe sections defining the defects location;
- transmission of testing results information into ACS OP shop system (automatic control system of the shop operating procedure).
Main specifications of the system:
- ultrasonic testing of longitudinal welds of pipes with the diameter from 406 to 1422 mm and wall thickness from 6,3 to 40,7 mm;
- detectable defects types: according to API SPEC 5L;
- ultrasonic channels quantity – 8 (in one module);
- ultrasonic probe operating frequencies – 2.5 MHz;
- USW refracted angles – 50°, 65°;
- individual tracking of every probe acoustic coupling;
- automatic pipe end tracking during testing;
- marking of the longitudinal defective area coordinate as well as of the pipe testing fact;
- automatic flaw alarm system (ALARM);
- possibility of the video surveillance system integration;
- flaw-free pipe inspection time without taking into account the time of loading-unloading on the testing site – no more than 2,5 minutes;
- 100% documentation of testing results.

