Ultrasonic method occupies a special place in non-destructive testing. Being one of the first and the most widespread it allows to detect both surface and inner defects of various types, perform thickness gauging and non-destructive structuroscopy.
The problem that specialists in the industrial ultrasonic testing (UT) often face is to assure a reliable acoustic coupling of the probe with the test object. Signals’ amplitude received by the probe directly depends on the quality of the acoustic coupling so far. Moreover, the signal’s amplitude is the main informational parameter used for defects evaluation in the major part of UT techniques.
One of the techniques which allows to assure almost perfect acoustic coupling is the application of immersion testing. When applying immersion UT the test object is placed in a water-filled (liquid-filled) immersion tank and the probe (or a group of probes) is moved over the surface of the test part. If the test object is very massive, a local immersive tank is used being pressed to the surface of the test object and the liquid being permanently supplied to it under pressure thus compensating the loss of liquid in place of contact of the tank walls with the test object.
Further we will dwell upon advantages, limitations and application of the ultrasonic immersion testing.
Advantages:
- Good acoustic coupling even in the objects that have bad scanned surface condition.
- Acoustic coupling does not depend on the scanning speed.
- As far as it is a contactless testing, there is no probes wear-out that increases cost-effectiveness of the method.
- Same probe can be used for testing with any probe angle due to adjusting the inclination angle of the same to the scanned surface.
- Thanks to a big difference in sound speed of the immersion liquid and test object (much bigger than when using wedges) any ultrasound probe angle can be reached by slightly adjusting a probe angle.
Limitations:
- Immersion variant of the UT has larger limitations with regards to the maximum scanning speed because of a significant immersion-related delay (the time of the UT wave propagation between the probe and scanned surface).
- It is more technologically complicated – the immersion tank is required, probes positioning precision requirements are higher.
Features:
- Immersion delay shall be selected in such a way that multiple reflections from the scanned surface do not fall into the testing zone.
- Frequency of scanning shall be selected so to avoid acoustic ghost signals.
Examples of application:
OKOndt Group can provide a lot of examples of a successful implementation of the immersion-based Systems for non-destructive testing, both with complete immersion of the test object in the immersion liquid, and with local immersion tanks use. One of the areas where the immersion UT is actively used is the railway axle inspection as well as all-rolled wheels and rims. Such testing shall be compliant with the requirements of the following documents: ISO 5948, AARM-101, AARM-107/M-208, EN 13261, EN 13262. In general, these documents regulate similar approaches to wheels and axles testing – scanning in axial and radial directions with longitudinal waves. However, there are some differences. E.g., AARM-101 regulates the testing of axles in the radial direction by the round-shape probes having frequency range of 1 to 5 MHz, or square probes with the side of 1 inch, and ISO 5948 – with the frequency of 2 to 5 MHz without specifying piezoelectric element form and dimensions. Besides that, AARM-101 regulates testing of axles in longitudinal direction by the round-shape probes with the frequency range of 1 to 2.25 MHz and 0.75 to 1 inch in diameter, or the square probes with the side of 1 inch, and the same ISO 5948 – does not regulate such a testing at all.
To be compliant with the above-mentioned documents OKOndt Group elaborated a range of the Systems among which we can mention the following:
- Ultrasonic immersion railway axles inspection System AUTS Axle-4 OS-4.
- Ultrasonic immersion railway wheels and rims testing System «YUG».
- Ultrasonic immersion railway rims testing System «KB-13».
The probes with the frequency of 2 MHz and round piezoelectric elements of ⌀20 mm are used for longitudinal scanning, and the probes having 2 MH frequency and round piezoelectric element of ⌀18 mm – are used for the radial scanning in OS-4.
The Systems «YUG» and «KB-13» are similar and both use the probes with the frequency of 5 MHz to test rims and webs of a railway wheel and a 4 MHz probe – for the wheel hub testing.
To meet the requirements of the above mentioned standards with regards to “dead zones” specialized probes with increased resolution were developed that allows to detect minor regulated defects at a depth from 10 mm.
The scanning trajectory of every probe is selected so that to assure the continuity of a testing area and defects detection, and testing probes with uneven sensitivity within the range of ±1 dB. This will provide the possibility to make a high-precision evaluation of the detected discontinuities not coming to re-rejection that in turn increases cost-effectiveness of usage of our Systems.
The mentioned features of the immersion technique, high output and reliability of the Ultrasonic Immersion Inspection Systems of Railway Axles and Wheels provided OKOndt Group with the possibility to take a descent place in the international market of non-destructive testing.
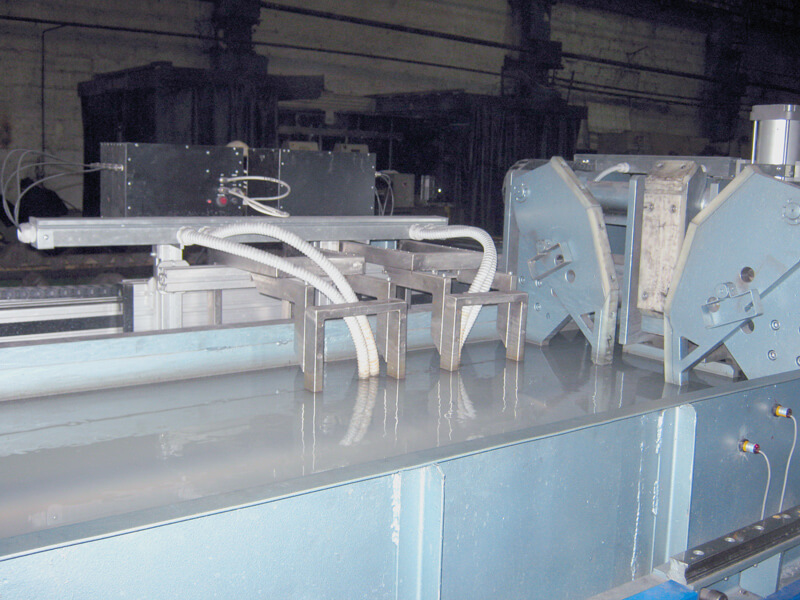
Axle testing with the «OS-4» System at the Lugcentrokuz (Luhansk)

Reference Standard Testing Results Presentation in the System «OS-4»
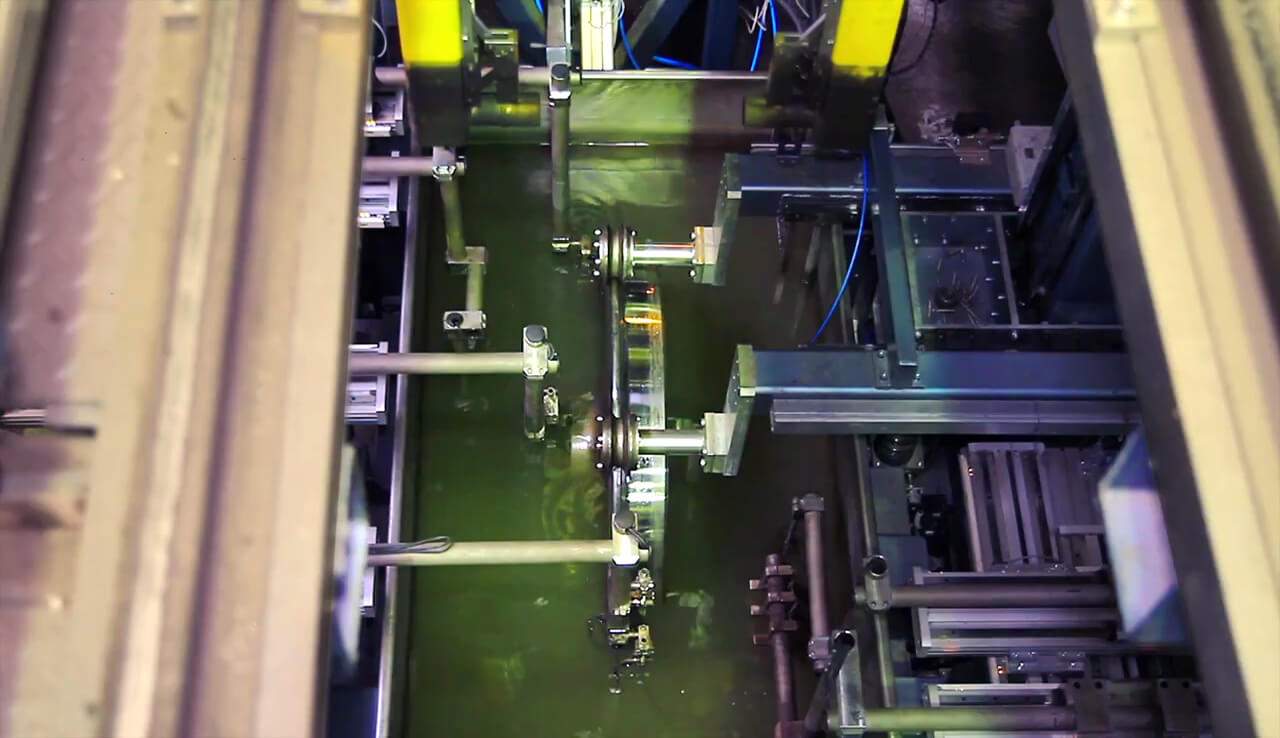
Process of testing by the System «YUG»
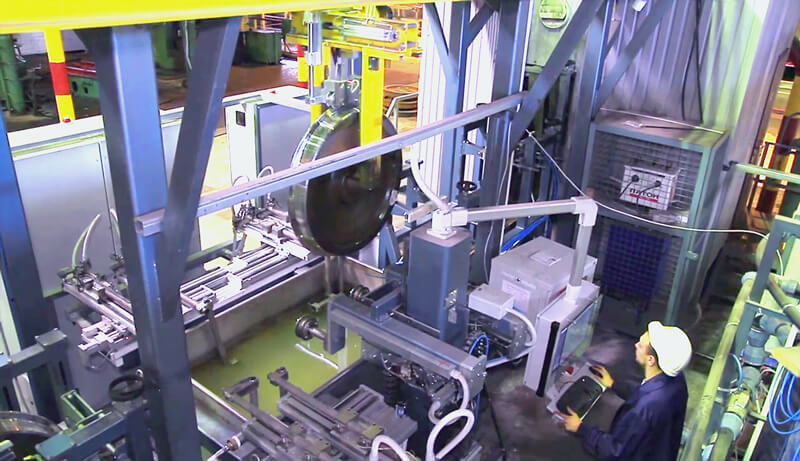
Loading the wheel to the testing position in the System «YUG»
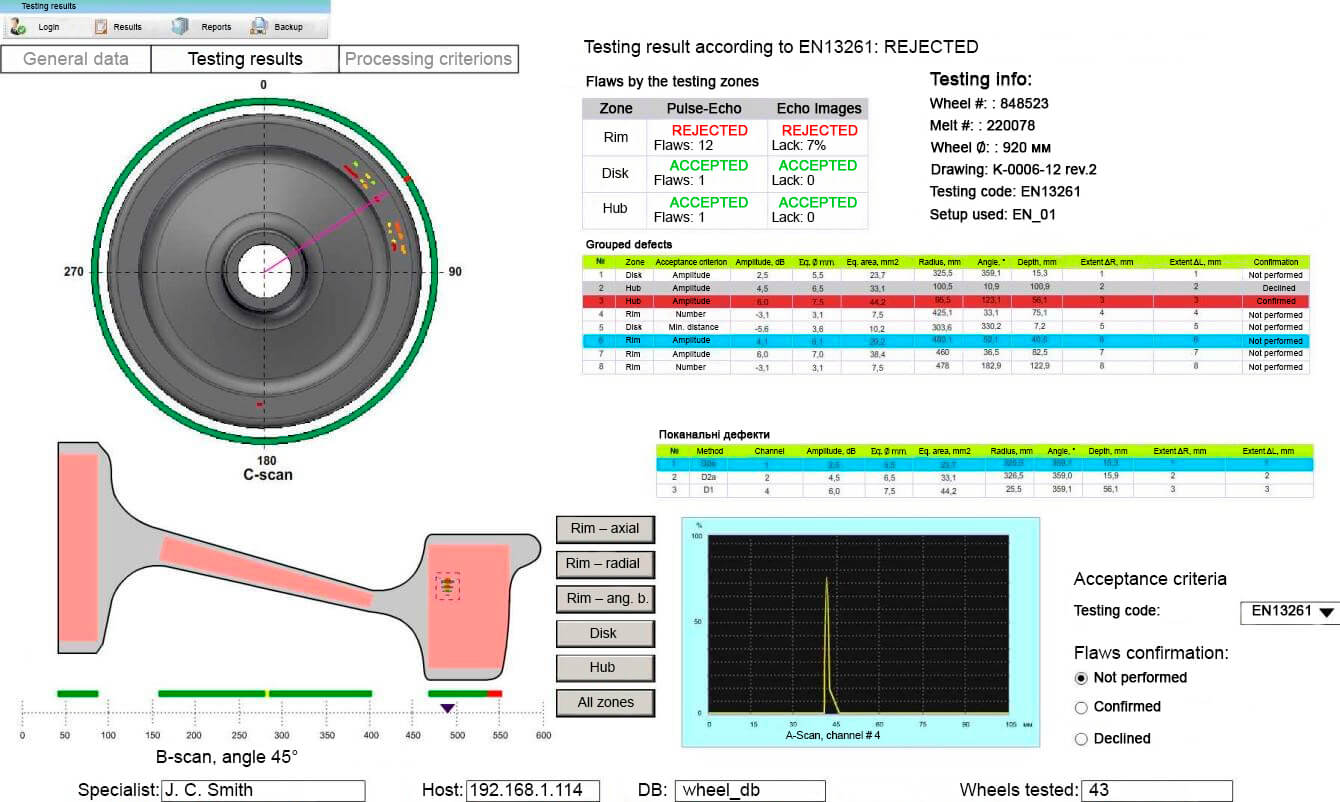
Defects detection in the Wheel Rim by the System «YUG»
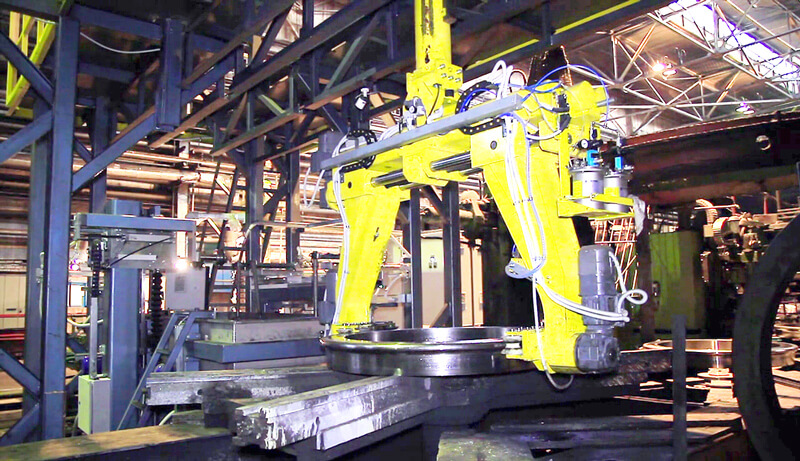
Rim loading into the System «KB-13»
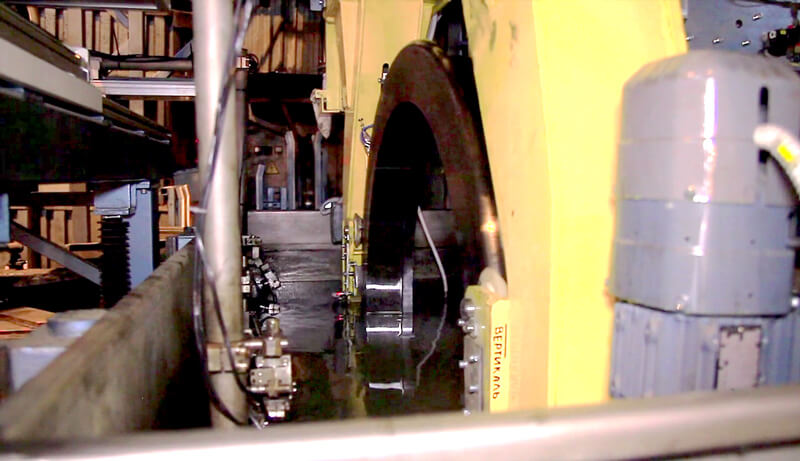
Process of the Rim Testing using the System «KB-13»

