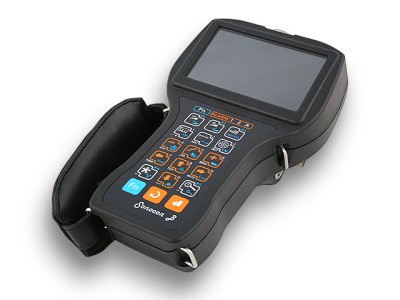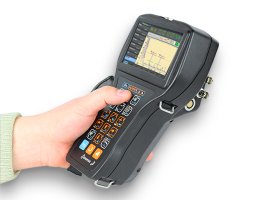
«Thickness Gauge +» is an ultrasonic version of Sonocon B flaw detector. It is a multifunctional next generation precise thickness gauge which combines the functionality of a traditional thickness gauge and corrosion monitor. Light, weighs only 0,95 kg, easy to handle ergonomic devise allows you to work with one hand. The instrument is equally effective working in the heavy duty field conditions and factory laboratories.
Easy to use
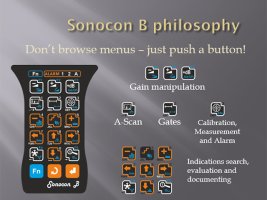
Sonocon B is highly user friendly. Its interface philosophy can be stated as “Don’t browse menus, just push a button!”. All most frequently used functions are placed on its keyboard making them accessible in a single or a couple of button presses. This makes setup and evaluation procedures several times faster. A variety of built in auto calibration procedures allow to perform fast and easy calibration with straight beam, angle beam and Rayleigh wave probes on standards or even a testing object.
To help new users to get used to its interface, Sonocon B offers a number of options:
- Context backlight: in modes where a group of buttons considered to be used all relevant buttons are highlighted.
- Menu items hints: All not trivial menu items show descriptions when activated (changed).
- Menu presets: User can choose one of 3 menu system presets:
- Full: contains all menus in 2 pages granting access to all UT instrument functions;
- Simple1 & Simple 2: contain in one page all basic functions, grouped in a couple of menus. Also gives possibility to add any 3 or 4 extra menus from a Full Menu list.
Usage in harsh environments
Instrument case has protection level IP65. Operation temperature range is from –30°C to +50 °C (-22°F to 122°F). Flaw detector is resistant to ionizing radiation impact and is meant for operation in increased humidity conditions.
General features
Performance
Dual modes pulser
Sonocon B implies two pulser modes: Spike and Square Wave (SWP). This and also a damping feature allow controlling echo shape, length and amplitude in wide ranges.
Waveform Averaging
This function allows to average A-Scan from ×2 to ×64. This greatly raises Signal / Noise ratio allowing comfortably working at even very high gain and making measurements more precise.
Quick and comfortable operation
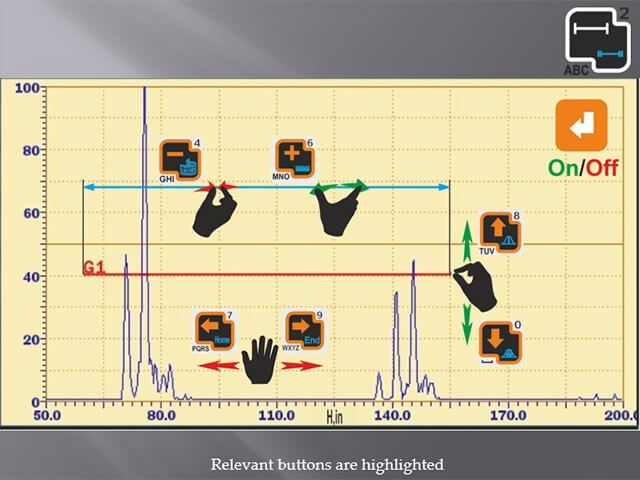
Direct A-Scan and Gates control
After pushing just a single button operator can intuitively control A-Scan and gates.
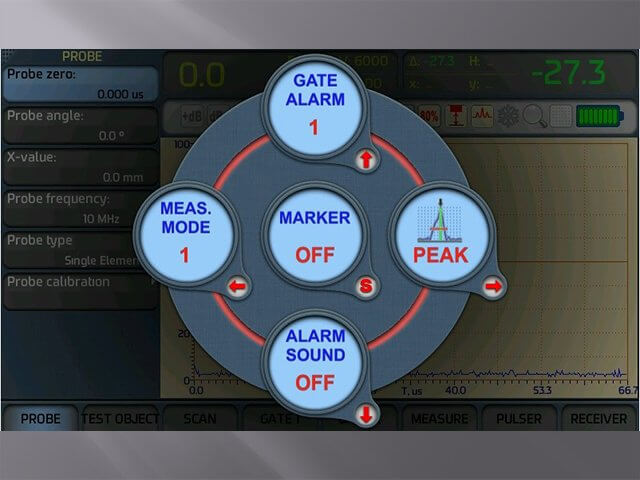
Quick Access Menu
The QAM button grants access to a queue of circular menus which allow quick change of measurement and alarm parameters.
“Thickness gauge +” version
Setup automation
Probes library
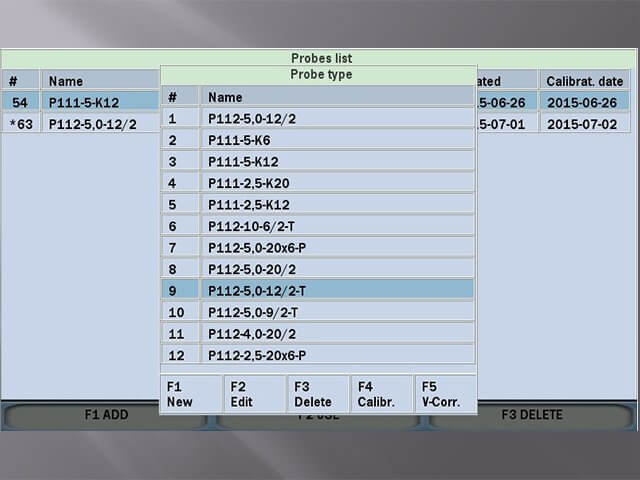
To set up the chosen probes parameters now it is enough to choose corresponding item from the Probes library and all related settings will be loaded autamtically.
Automatic calibration
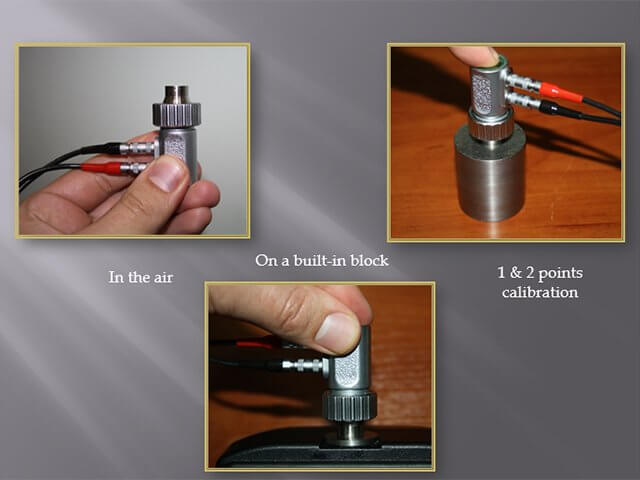
Sonocon B offers a variety of automated calibration procedures: in the air, on a built-n calibration block and classic single and dual points calibration.
Results storage and processing
Structured files
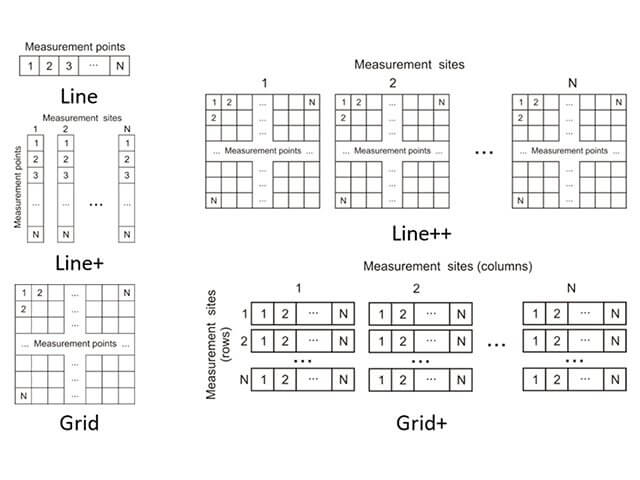
One of the most important and difficult task in thickness measurement at large objects is to correctly organize measurement results in a way to facilitate their analysis. Using Sonocon B operator can choose one of several templates corresponding to almost any type of testing objects:
- “Line” (1D) is ideal for tank truck, small diameter pipes, etc.
- “Line+” (2D) is used for a linear group of “Line” objects, for section by section large diameter pipes thickness measurement, etc.
- “Grid” (2D) is used for testing of large semi planar object like ship’s hull, storage tanks, large diameters fluid conductors, etc.
- “Line++” (3D) is used for testing of a 2D group of “Line” objects.
- “Grid+” (3D) is used for a linear group of “Grid” objects.
- “Boiler” (3D) organizes measurement points on pipes and pipes on levels.
Measurements statistics on the go
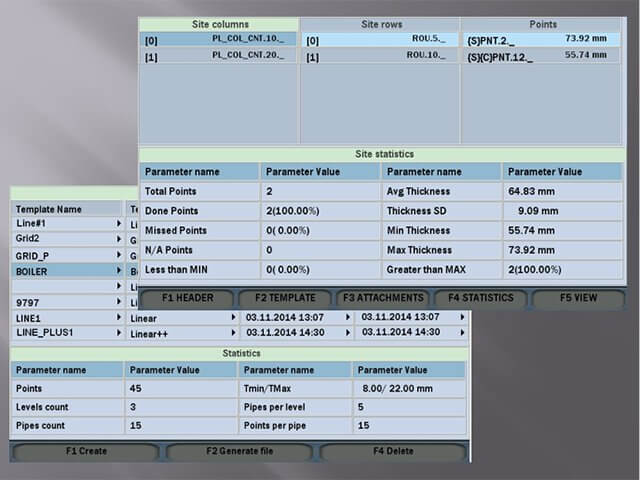
Sonocon B allows not only to review organized measurement data, but also to analyze them, providing statistics for the whole file and each of measurement sites.
Corrosion monitoring
Thickness B-Scans
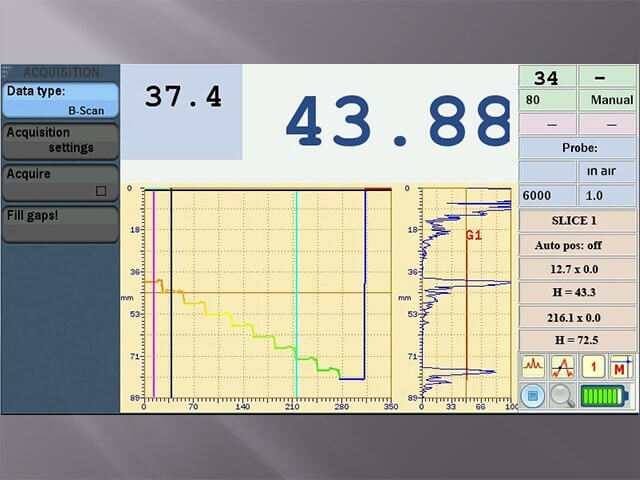
Thickness B-Scan – a slice of the object by the ultrasonic beam are easy to acquire with any 1D scanner with encoder. It shows a back wall profile, which is useful to estimate corrosion type.
PC Software
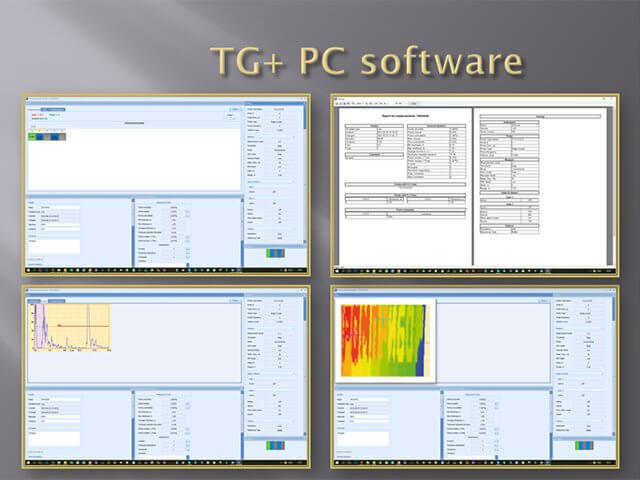
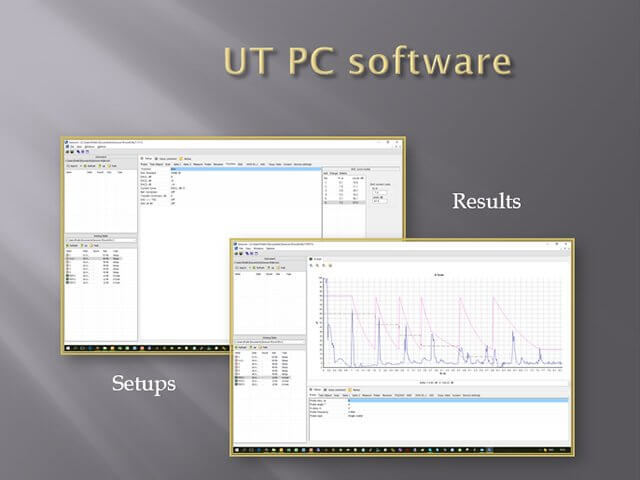
Sonocon B goes with PC software package corresponding to the inner software – UT, Thickness or both.
PC software is used for organization of instrument setups and testing results, their analysis and reporting.
Thickness gauge +:
UT:
| Pulser | |
| Type | Square Wave (SWP) |
| Autofit of the pulser parameters to the chosen probe | Voltage, Energy, Damping |
| Measurement frequency (readings refresh rate) | 1 to 100 Hz |
| PRF mode | Auto (Calculated from set readings refresh rate, accounting for averaging rate) |
| Receiver | |
| Range (at steel longitudinal wave) | 8 000 mm (314 in) |
| AGC | Individual to reach at 2 gates |
| AGC Modes | OFF / Edge / Peak |
| AGC Max Gain Modes | High, Medium, Low, Manual, Off |
| Auto filters choice (according to the probe type) | ✔ |
| Measurement | |
| Sound velocities range | 250 to 16000 m/s (.01 to .629 in/µs) |
| Measurement range | 0.4 to 16 000 mm (.016 to .629 in) |
| Readings resolution | 0.01 / 0.1 / 1 mm (0.001 / 0.01 / 0.1 in) |
| Number of gates | 2 |
| Modes | 1, 1-2 |
| TOF Modes | Edge, Edge Zero Crossing |
| Units | mm / in |
| Min & Max capture mode | ✔ |
| Differential mode | ✔ |
| % of wear mode | ✔ |
| Temperature compensation | ✔ |
Acquisition of a:
| ✔ ✔ |
Measurements on the previously acquired:
| ✔ ✔ |
| Alarm & Display | |
| Alarm types | Min, Max, Min&Max |
| Coupling loss alarm | ✔ |
| Last reading (in coupling loss) | ✔ |
| A-Scan | ✔ |
| Cursor (Detect Line) | ✔ |
| Thickness B-Scan | ✔ |
| Thickness C-Scan | ✔ |
| Multidimensional files: Browsing | ✔ |
| Multidimensional files: File Statistics | ✔ |
| Multidimensional files Meas. Site Statistics | ✔ |
| Calibration | |
| 1-point | ✔ |
| 2-points | ✔ |
| Zeroing in the air | ✔ |
| Zeroing on a built-in block | ✔ |
| Memory | |
| Setups | ✔ |
| Multidimensional structured files | 1-3 dim |
| Number of readings per file | Up to 100 000 |
| Number of files format | 6 |
| Data attachments | Comments, A-Scans, Thickness B-Scans, Thickness C-Scans, Microgrids |
| Capacity | 2 GB (up to 64 GB) |
| PC software | ✔ |
| Other Features | |
| Keyboard backlight | ✔ |
| Smart (Context) keyboard backlight | ✔ |
| Smart zoom | ✔ |
| Number of keyboard shortcuts2 | 29 |
1 USB Type A (aka Host or Master) allows to connect external devices (Flash-Stick, Mouse, etc).
2 Number of instrument functions one can access with a couple of button presses.
| Name and description | Quantity pcs. |
| Electronic unit | 1 |
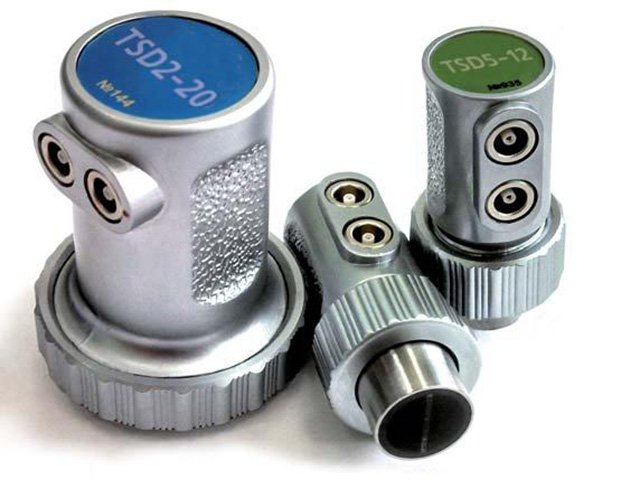
| Piezoelectric transducer:TSD5-10 | 1 |
| Connection cable probe / Electronic unit (2lemo00×2BNC) | 1 |
| Mascot Type 2542 Charger | 1 |
| Hand strap | 1 |
| Software for processing the testing results on PC “Thickness gauge +” | 1 |
| Battery unit | 1 |
| Bag or Case | 1 |
| Documentation | |
| Operating manual for Sonocon B version “Thickness gauge +” | 1 copy |
| Operating manual for PC software for version “Thickness gauge +” | 1 copy |
| Operating manual for Mascot charger | 1 copy |

