OKOndt Group at 20th World Conference on Non-Destructive Testing (20th WCNDT), Incheon, Korea May 2024.

Ultrasonic testing

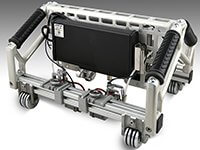
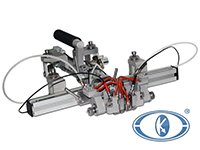
TOFD 2.10 PRO Ultrasonic scanning device implements the mechanized testing of butt - welded joints of flat surfaces and pipes of medium and large diameters (with a minimum external diameter of 600 mm) and a thickness from 6 to 75 mm. Using the TOFD 2.10 PRO defects such as discontinuities, lack of fusions, cracks, porosity and slag shots can be detected and also their sizes with their coordinate dimensioning to the testing objects can be determined.

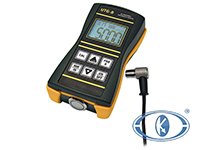
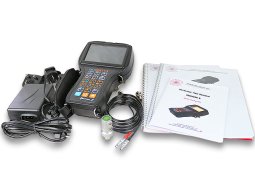
Ultrasonic non-destructive testing technique for flaw detection is based on propagation and reflection of high-frequency (0.5 to 24 MHz) UT waves in a test object (steel, plastic, composites, rubber, etc.), with their further processing and visualizing on a special-purpose NDT instrument (flaw detector).

This method is used to search for material defects (pores, hairlines, inclusions, inhomogeneities, etc.) and to control workmanship quality like welding, soldering, etc. Ultrasound examination is a mandatory procedure for manufacturing and operation of numerous critical parts, such as aircraft motor parts, main pipelines or rails.


Basic UT techniques are as follows:

  • Pulse echo technique is the most common: a single probe generates UT waves (i.e. acts as transmitter) and receives back the signals reflected from defects (receiver). This method has been widely practised due to its simplicity, since only one probe is required, which means that there is no need for special fixtures during manual testing (as compared to TOFD), or alignment of acoustic axes when two probes are used. Besides, it is one of the few ultrasonic NDE procedures that allow for quite accurate measurement of defect coordinates, such as depth and location in a test object (in relation to the probe).
  • Echo image technique (“Tandem”, “Duet”) utilizes two probes from one side of a test item, so generated waves are reflected from a flaw towards the receiver. In practice, it is used for recognizing defects that are located perpendicularly to the tested surface, e.g. cracks;
  • Time-of-flight diffraction technique (ToFD) utilizes two probes from one side of a test item which are placed opposite to each other. If a defect has sharp edges (for instance, cracks), UT waves are diffracted on the defect ends and reflected in all directions, also towards the receiver. The ultrasonic machine records the arrival time of both pulses at their sufficient amplitude. The instrument screen simultaneously displays both signals from upper and lower boundaries of the defect, thereby enabling to make a rather precise estimation of the conditional height of the defect. TOFD inspection is a sufficiently multipurpose technique that allows ultrasonic testing of welds of any complexity, but it requires specialized fixing devices for probes, as well as a tester capable of operating in such mode;
  • Echo shadow technique is used for examination of products having two parallel faces, whereas analysis is made for echoes reflected from the opposite side. Similarly to through-transmission technique, a defect is evidenced here by the loss of reflected waves. But in contrast to through-transmission technique, the echo shadow method is featured by easy access to the test object from one side only.